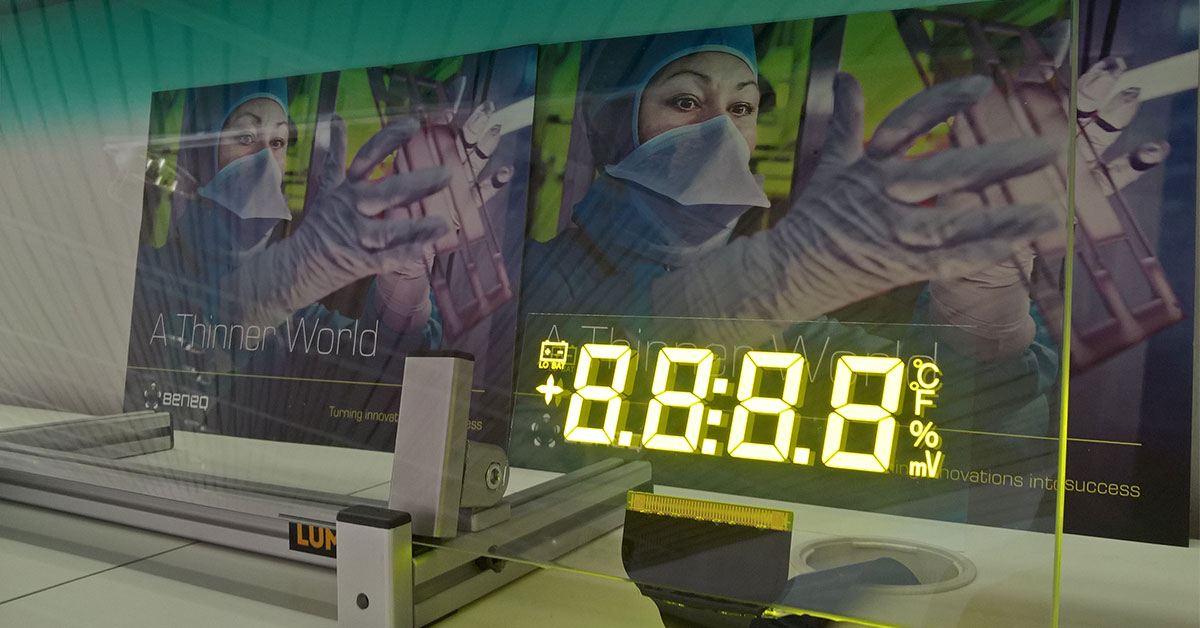
One of the cornerstones of our Lumineq displays business, and a hot topic at Beneq and among our customers right now are in-glass laminated transparent displays. Earlier, we interviewed Product Manager Olli Pekonen about them and now we continue with more details about the lamination process and how to start your own in-glass integration project.
How to get laminated Lumineq displays in full-scale production
Transparent in-glass laminated Lumineq displays have, so far, been integrated in vehicle windshields, train windows, naval bridges and architectural glass. But that is just the start – the number of potential application areas is much higher. For ideas about future possibilities, visit the vision section on our website, where you can see images of potential future products by design students.

From a LIP to full-scale production. Lumineq Displays in-glass lamination process steps.
1. Start with a Lumineq Lamination Introduction Package
The lamination endeavor usually starts with what we call a “LIP package”, short for Lamination Introduction Package (no reference to human anatomy). This is a great product for trying out lamination for the first time.
We offer several versions of the LIP package with different display panels, but the most popular one is the LIP package, which is based on a Lumineq ELT40S display panel.
The package contains a transparent segmented Lumineq ELT40S display with the necessary driving electronics and flex cabling. The difference with a standard Lumineq ELT40S display is that in the package you will find only the display on a 0,7mm glass pane with no cover glass or any other enclosure. Also included are non-functional mechanical samples (dummy displays) for the very first trials of placing glass panes between the interlayers.
2. Define the contents for your customized Lumineq display
When the first trials with the LIP package have been successfully performed, the customers are usually keen on experimenting with what they would like to show on the laminated display. For the content definition phase, there are many options. We have demo displays and reference designs available for planning the display segments.
It is also possible to use a transparent matrix display as a part of the design process. Matrix displays are somewhat less bright than their segmented cousins, but they offer more flexibility in testing different options and ideas for the contents of the laminated display.
3. Design the final production display to be laminated
With full understanding of the lamination process and requirements for the display contents, the third phase of the process is kicked off. This is where the final production design is created. For this stage, segmented displays are typically selected because of their superb brightness, although for certain applications with less challenging transmission, ambient light and contrast requirements, a matrix display will work just fine, too. The driving electronics, interfaces and cabling are also finalized at this stage.
Ready for full-scale production
After the three lamination process steps, the new customized transparent display is production ready. The work then continues with optimization work for both the display production and the lamination and integration process at the customer facilities. A new industrial display solution is born – for a safer and less cluttered cockpit environment.
More information:
In-glass laminated Lumineq displays
Lumineq Lamination Introduction package
Video about Lamination Introduction Package
Improving safety and ergonomics with Lumineq HUDs
Increased situational awareness at sea
